Navigation Pane
Getting Started with Gitmoxi
Gitmoxi is inspired by GitOps paradigm where you store, version control, and collaborate on deployment artifacts in Git. Gitmoxi uses deployment artifact files such as ECS service, task, and Lambda function definition to create and update associated objects in AWS services. So you will need GitHub and AWS accounts to try Gitmoxi continuous deployment features. In this getting started guide you will:
- Install Gitmoxi on ECS with Fargate,
- Perform GitOps-based creation and updates including blue/green with sample applications
- Clean-up all the test resources
Prerequisites
- AWS CLI
- Git CLI
- Hashicorp Terraform
- kubectl
- Gitmoxi CLI
pip install gmctl
gmctl --help
- GitHub token for GitOps
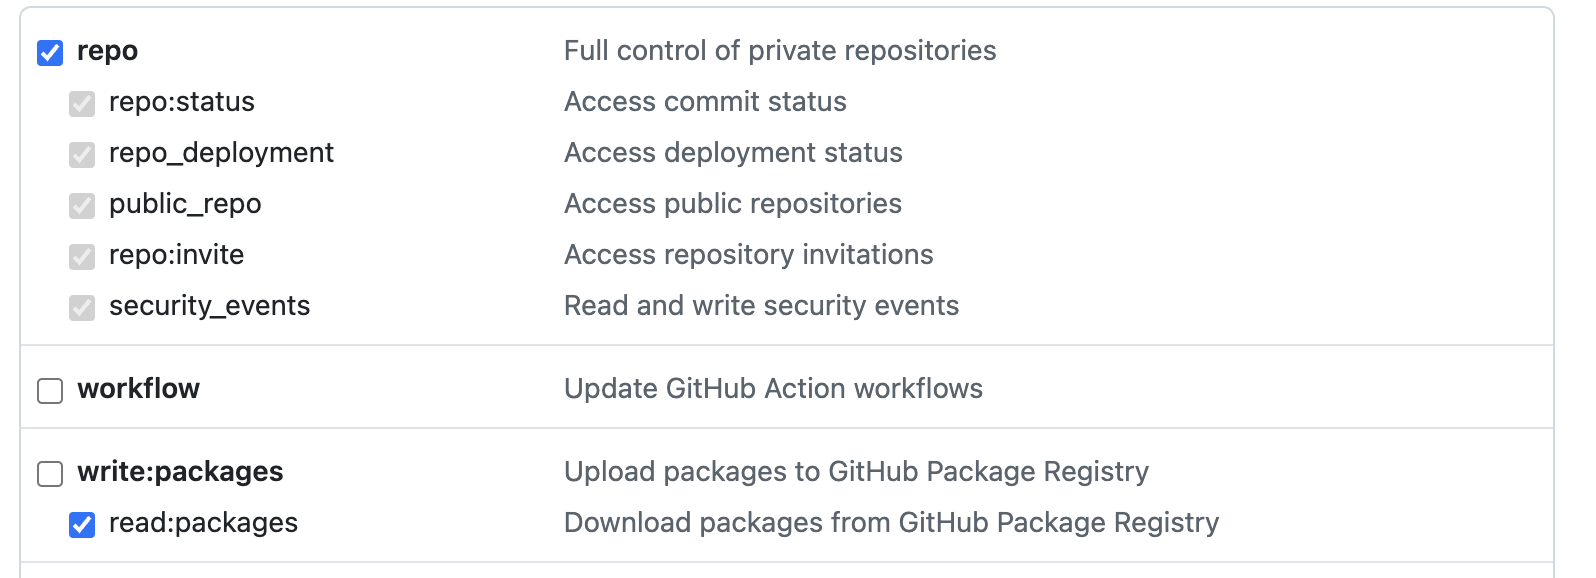
Before deploying Gitmoxi for trial, in your GitHub account create a developer token (classic). You will need to grant repo and read:packages access.
Copy the token value and set the following environment variable, followed by the key AWS region and account variables.
export GITHUB_TOKEN=<GITHUB_TOKEN>
export AWS_REGION=<region_to_install_Gitmoxi>
export AWS_ACCOUNT=<account_id_to_install_Gitmoxi>
If you are using AWS Profile then set the AWS_PROFILE environment variable otherwise Terraform will likely give error. You can usually find the AWS Profile in ~/.aws/config in the first line within the [] brackets.
cat ~/.aws/config

[profile <YOUR_AWS_PROFILE_IS_LIKELY_HERE>]
...
export AWS_PROFILE=<YOUR AWS PROFILE>
Next, clone the Gitmoxi deployment artifacts repository.
git clone git@github.com:gitmoxi/gm-deploy.git
cd gm-deploy
Now we can install Gitmoxi either on ECS Fargate or EKS whichever service best fits your needs and skills.
Ready to Simplify Your Deployments?
Join teams who have eliminated deployment complexity with Gitmoxi's GitOps-native approach.